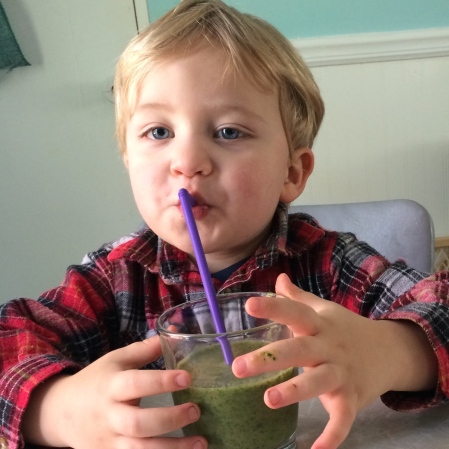
What is this kid drinking?!
Green smoothies. This is one of those things that seems to be pretty trendy in blog land. My parents have been touting their benefits all year, but everyone else I know thinks I’m crazy. Jumping on this bandwagon was not my idea per se. It was that ^^^^^ kid’s idea.
I had just finished listening to a podcast interview with a woman who talked about her life as a busy mom on a tight budget. She was kind of depressed, gained a lot of weight in a very short time, and it felt nothing was going according to plan. So, she decided to do one thing for herself: drink a green smoothie every morning. She did nothing else, at first, but it turns out that simple step was the catalyst for all kinds of healthy changes in her life.
Hm… I thought, Maybe I could do that. What she was describing was not very expensive or a huge commitment, so I started browsing her beautiful website to get some recipe ideas. Right about that time, my youngest sat on my lap.
“FUNNY MILKSHAKE!!!!!!!!!! FUNNY MILKSHAKE!!!!!!!!!!!!!!”
It’s this screaming thing he does when he really really wants something. (I hesitate to even share this, but it sounds remarkably similar to this slightly less well behaved child you might be familiar with.)
I tried to scroll away from the picture, but he kept totally freaking out, trying to scroll back up to the picture of the “funny milkshake”!
So, that’s what did it.
We’re converts now.
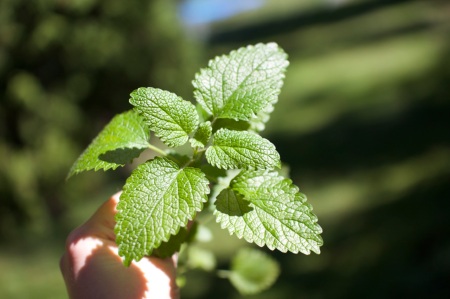
Okay, so the first question is always, “What’s in it?” So far, pineapple, strawberry, almond milk, bananas, peaches, and, oh yeah, a tightly packed cup of raw spinach. I had you until the spinach, right?
Well, the good news is, you don’t really taste the spinach. At least I don’t. I’m assuming my kiddo doesn’t. I’m excited to try some new recipes. I can’t report on any major health updates, since we’ve been at this less than a week. I do like that this is a fairly affordable, fairly simple thing I can do to get a little more nutrition in my diet, but the fact that my son thinks this is a treat? This is the healthiest thing he’s probably ever eaten! I HAVE to keep doing this!
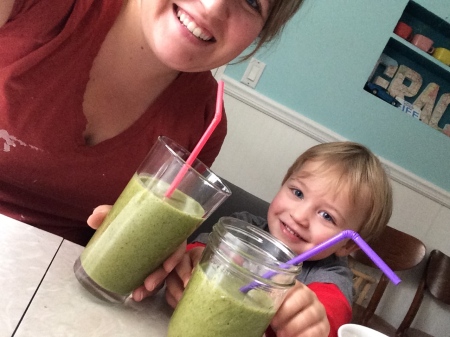
The second question is, “He REALLY likes it?” YES! The first smoothie I made him, (in the first picture here) was in the way of something, so I just scooted it to the side for a second. His response was to give me the dirtiest look ever and tell me “NO! That’s MINE!” That might seem like ugly attitude, but when he overcomes his language delays to communicate so clearly… I take it very seriously!
The third question: “Do you guys ALL drink it?” No. Amazingly, I got my five year old to try it the first day, telling him it was a funny green halloween milkshake. He didn’t care for it. (But can you believe he fell for that?! Pssht! Five year olds.) My husband, on the other hand, said he didn’t like the first batch, but wants to try again after looking at all the recipes that started this whole thing.
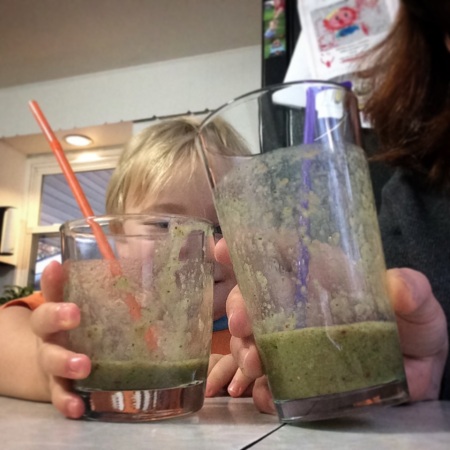
Fortunately, the fact that this treat is something just my youngest and I share makes it all the more appealing to him. We’re Team Green–a smoothie drinking machine!
I’m such a fan of baby steps and small wins. A green smoothie is pretty easy, but it is making me feel like I’ve done something for my health and my kiddo’s health before we even get dressed for school. I’m pretty excited to see the impact that could make on my attitude about the day, if not the vitamins and nutrients themselves!
Do you do anything weird for your health? Tell me all about it!
-Mac-

 No. Just no. I am not doing northeast Ohio winter again in 2017.


